
Australian Aeromodellers Gallery Updated May 17, 2003
 Derek Buckmaster
Melbourne, Victoria, Australia Building Free Flight Models On The Road! Have you ever found yourself unable to pursue your hobby (or your obsession, if that's how your wife views gluing little pieces of balsa together so they fly around) due to circumstances beyond your control? A change in your family situation (the arrival of a new baby, for example), a period of illness or another of life's constant changes can put you in a situation where you can't keep up activities that you would normally enjoy.
In order to keep up your hobby "against the odds" you need a certain level of motivation and pre-planning. Most times that I travel, I carry along at least one partially-built model - just in case I get a quiet evening where I need to amuse myself in the hotel. I should point out that this is not often, as I'm usually entertaining customers or travelling until well into the evening. Sometimes I've lugged my models around for a week or 10 days and not found a chance to pull them out, and its not that there are no alternatives to "pass the time" if I end up with a free afternoon or evening. If I'm in a new city I'll go and do some sight seeing. I'm sure others would "veg out" in front of CNN or the movie channel. But I gain an enormous amount of relaxation out of making balsa dust. Over the years I've picked up a few tricks, so these musings are presented here to pass them on to anyone who's interested.
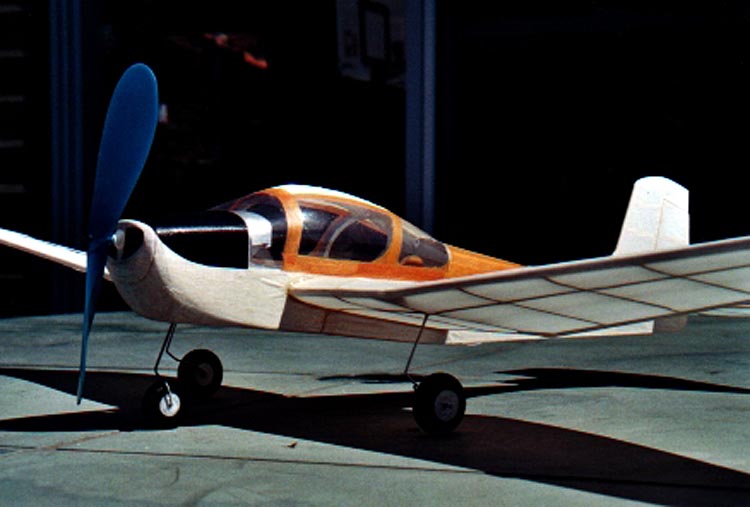
What sized models? The first thing I should point out is that my passion is for small free-flight scale models, from Peanut Scale (13" or 330mm wingspan) up to around 28" (740mm) wingspan, so all my experiences relate to models of this size. There are no Wakefields, Coupes, P-30s, Nordics or FAI models in my hangar. Peanut Scale and Dime Scale (around 16" wingspan) models are ideal for building "on the road" due to their small size. The larger the model, the tougher it gets. Sometimes I find myself limited to building major sub-assemblies (like wings, tailplanes or fuselage sections) on the road and then finishing the final assembly and covering at home. Also, my experiences are a little different to stories I've heard or read of competitors who've travelled to a National Champs (or similar big event) with the express purpose of flying models (including crashing and repairing them) for several days. In this case, one has the luxury of packing large volumes of extra materials, building equipment, sometimes virtually an entire workshop into their wagon, caravan or motor-home. In my travels, I'm trying to fit the needed tools and materials into the minimum of space. The models which I've built (all or partly) on the road include the following:
Carry boxes
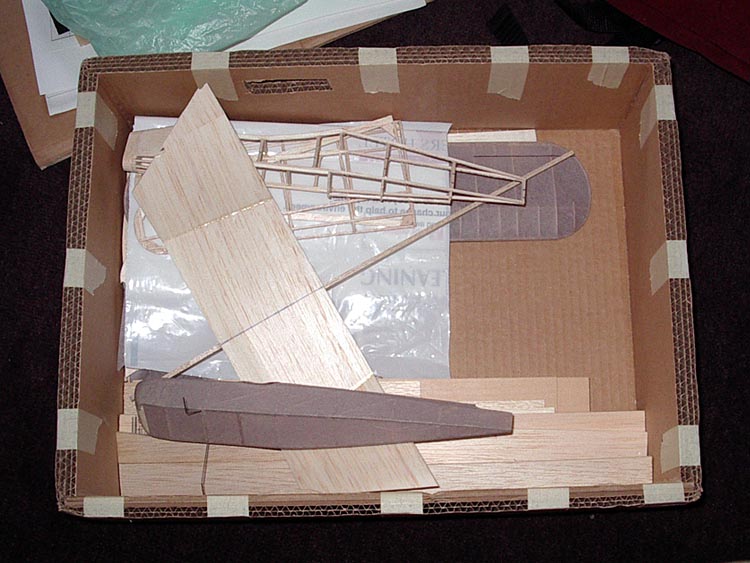
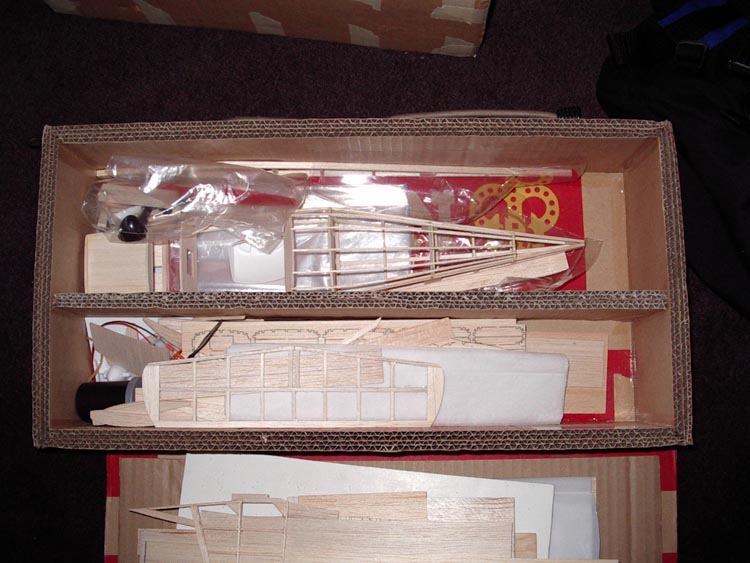
You need to be able to carry your models and materials around for this sort of caper, and for this purpose I currently have 2 custom-built cardboard boxes. You can see from the photos that they are sized to fit snugly into a low-cost backpack. 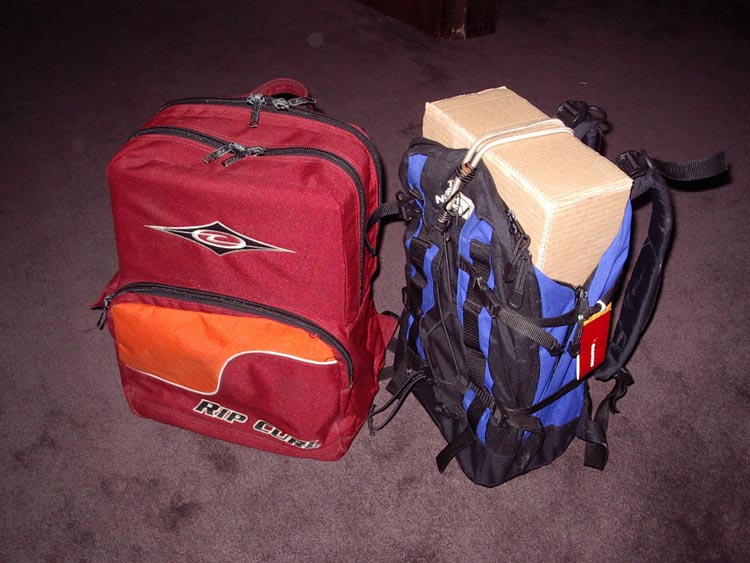 These are just regular back-packs that you can carry on for a flight, right? 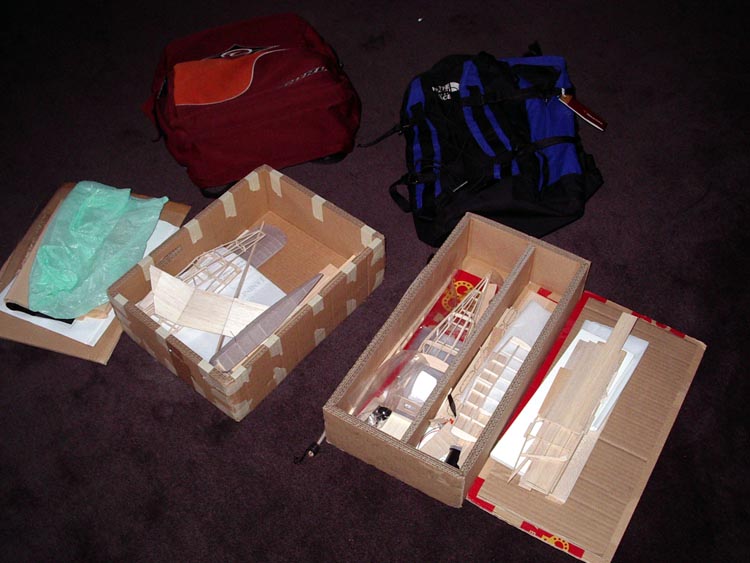 Wrong! These are purpose-built portable free-flight construction hangars! Custom-built cardboard boxes hold partly-built models, sheet balsa, strip balsa and covering materials.Not only do they fit into the backpacks, but they fit inside the "carry-on luggage tester" that you see at airline terminals (guess how I know that). I even built these boxes on the road - from scrap cardboard scrounged from shops near my hotel (yes, I did get a few odd looks carrying an old box through the lobby of a major hotel in Singapore!). The boxes are both double-layer (2 layers of corrugated cardboard for top, sides and bottom) and they have a lid that fits snugly. The lids are not attached or hinged, since they are held tightly in place when the boxes are inside their carry packs.
Building boards I carry a small cutting board with me (the green self-healing type that doubles as a mouse-pad), but I don't carry a building board, since all hotel rooms come equipped with fairly useful building boards!
Remove one of the drawers from the desk or the chest of drawers in the wardrobe, and then turn it upside down. Voila! A nice flat plywood building board! Mind you, sometimes you have to exercise careful drawer selection. 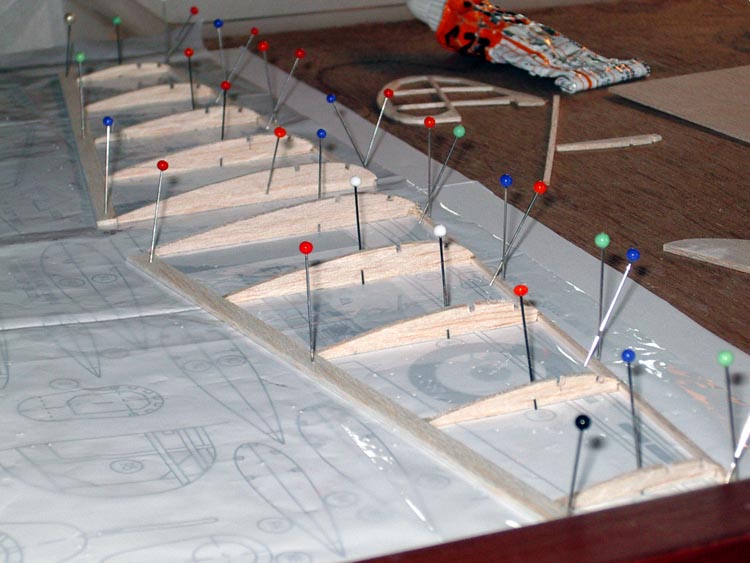 Here's one in progress... the wing for my new "Neo Dime Scale" CAC Wackett trainer being constructed on the underside of a drawer in a hotel room in Penang, Malaysia.If the drawer usually holds something heavy (like a set of phone books), then it may have a permanent "bow" in the bottom, making it unusable for building. So find a drawer that is usually empty. This is often the bottom drawer in a chest of drawers. Now, most free-flight aficionados would suggest that a sheet of 3-ply is not an ideal building board, and I have to agree. But it saves me lugging my own board around, and it does the job. So I don't complain. I do have to work hard to get pins to stay in the board sometimes, but that's all part of the fun.
Tools
Over several years of building on the move, I've built up a full "road" set of tools, so I don't need to raid my field box every time I pack for a trip. Having a dedicated toolkit also means I can just throw it into my suit-bag without having to get it ready each time I travel. 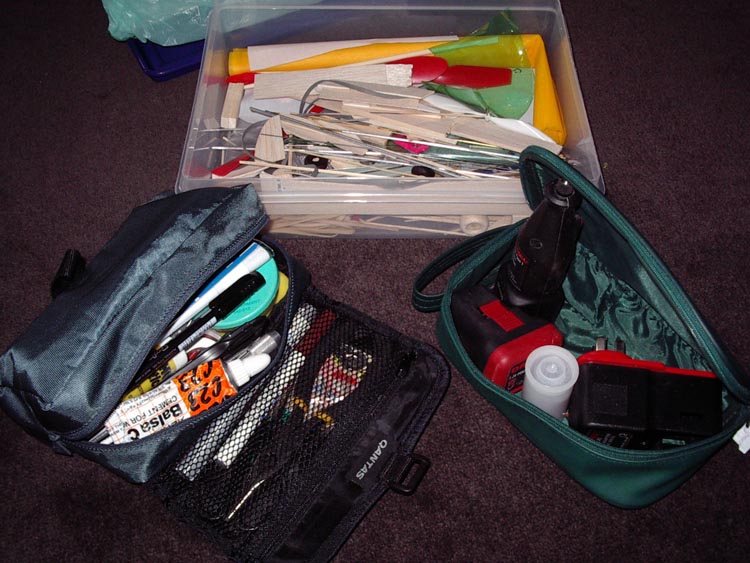 What about tools and "bits and pieces" to go in checked luggage? Well, tools go into one of these airline pouches (the one on the left has tools, the one on the right holds a Dremel and its charger), and "bits and pieces" go into this supermarket food storage container. The flat containers pack nicely inside my check-in suit bag.My tools live inside one of the small "amenity" pouches handed out to business travellers on major international airlines. Remove the toothpaste, shaver, socks and eye shade and you have a fairly useable pouch for tools for a very low cost (if your company is covering the cost of the business class ticket!).  Here are most of the the tools from my kit laid out to see... yes, they all fit into that small pouch!Out of interest, I emptied my toolkit (I seldom do that!) and noted what I've been carrying around:
Luxuries! The one luxury that I occasionally allow myself in the tool department is to bring along my Dremel Moto-Tool and its charger. If I'm on a longer trip, I'll be carrying a larger bag for clothes, and the Dremel fits comfortably into its own small pouch (this one was courtesy of Cathay Pacific). One thing I've discovered is that cutting disks (which are very thin and brittle) will end up in tiny pieces by the time you arrive at your destination if you carry them loose in the pouch. So I've learnt to store these inside their own container (an empty 35mm film canister) inside the Dremel's pouch (you can see this in the pictures).
Security The first thing to say here is that you must follow the airline luggage rules to a tee. Don't carry any sharp objects in your carry-on luggage, and don't pack any highly flammable items in your check-in luggage. I travel from Australia and Asia regularly (monthly) and I've travelled to the US several times in recent years (read that "post 9/11"), and I've been subjected to random searches several times (including "the works" - all my luggage opened and searched... guess my "lucky number" came up). Apart from odd looks and curiosity from the security staff, I've never had any problems taking partly built free-flight models onto aircraft as carry-on luggage. Of course, all my tools (with all the sharp, pointy bits) are packed in my checked luggage and go into the cargo hold, so I'm never carrying anything against the regulations in my carry-on luggage.
Persevere! So, is it worth all the trouble? In my opinion, it is. If building models is something you enjoy - and particularly if it helps you to relax, then take the time to be prepared, and enjoy your hobby on the road! Derek Buckmaster writes the excellent Australian aviation web page DB Design Bureau
|
© Copyright 1999-2005 CTIE - All Rights Reserved - Caution |