The Monash UAV Story : IMAGE GALLERY
1-12
|
13-24
| 25-28
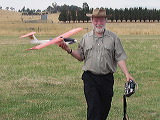
P1102841
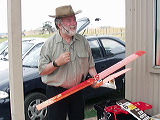
P1102843
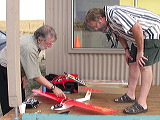
P1102806
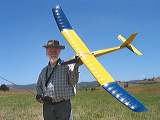
IMG_8262